Trying to find the best DIY idea for Christmas?
Searching for the best trick to amaze your guests? Well, finally you’re in the right place! Cute napkin fold for every family!
“Wow”, “Amazing”, “Great Idea”, “Cute” that’s a statement you should hear from your Christmas guests.
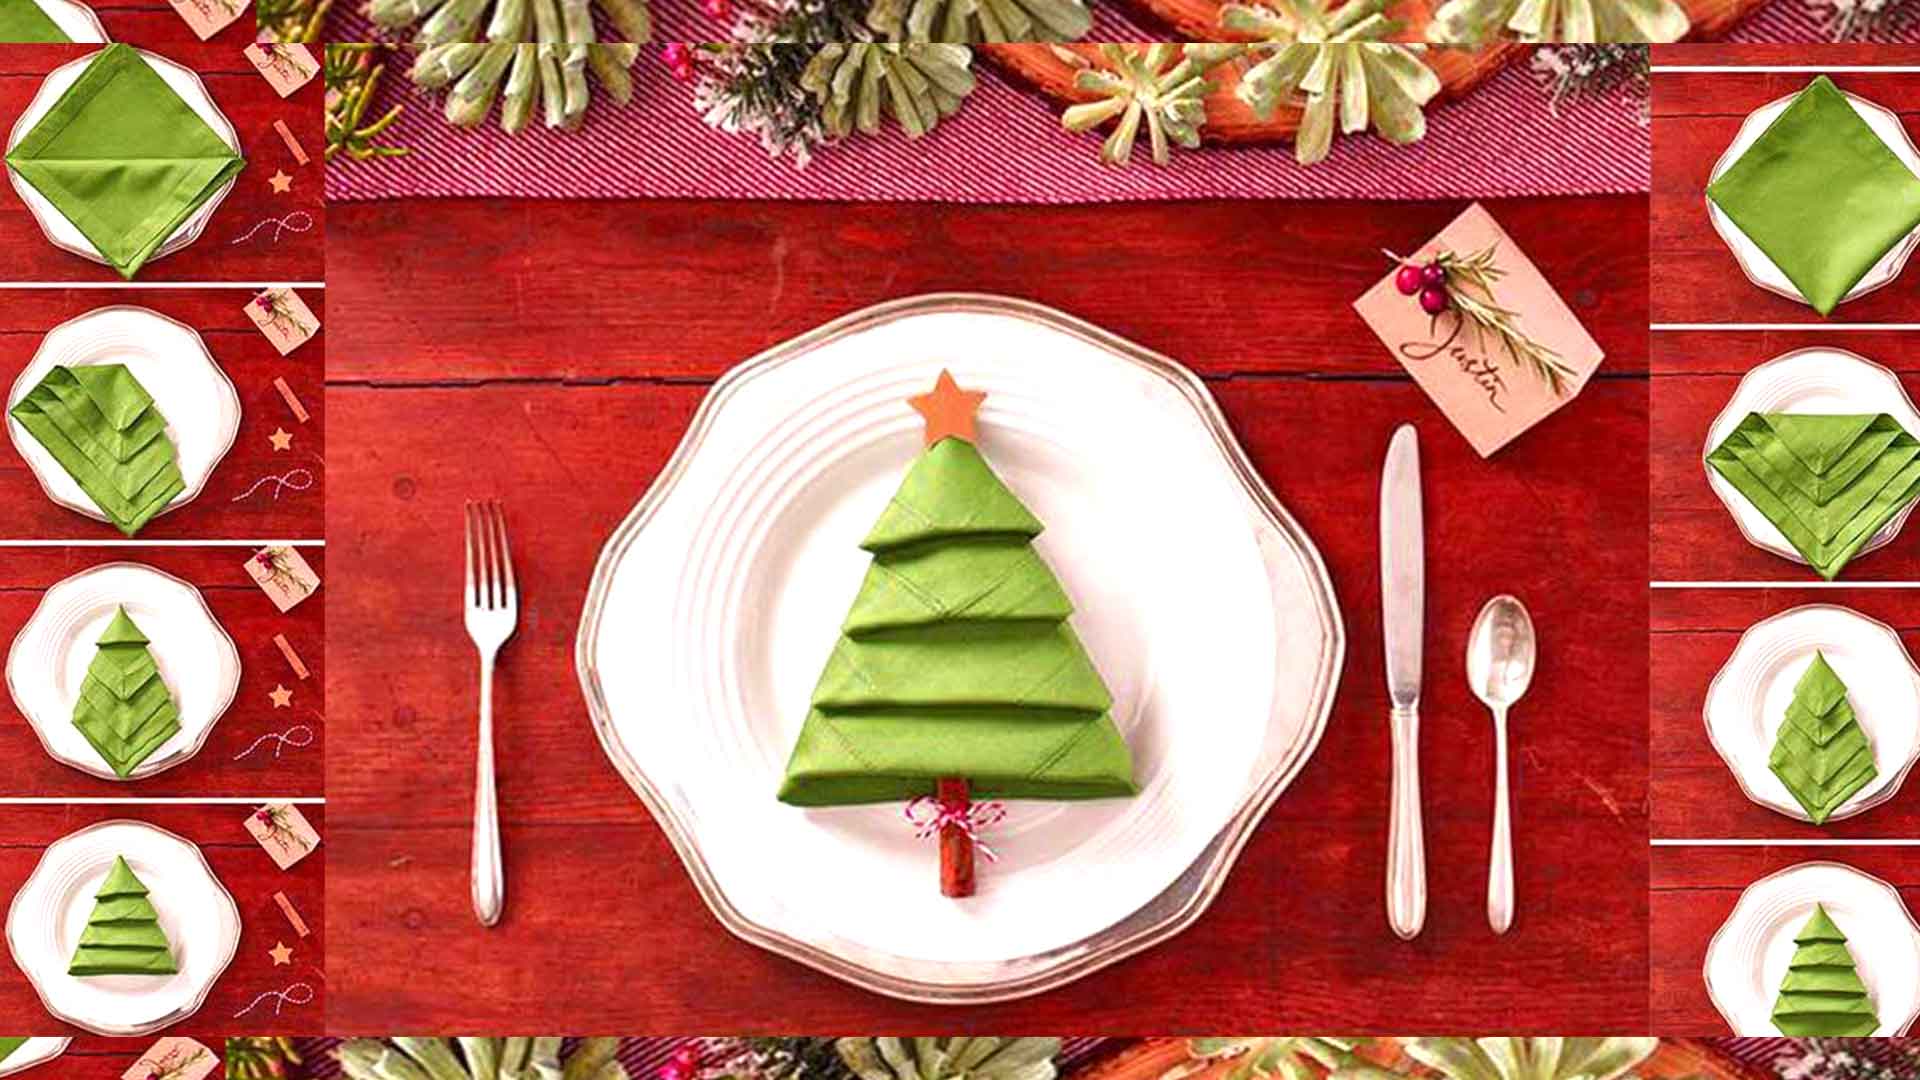
After this “Christmas tree folding tutorial”, you’ll accessorize your dining table with these amazing Christmas tree folded napkins.
These handsome tree napkins make a great addition to your table setting.
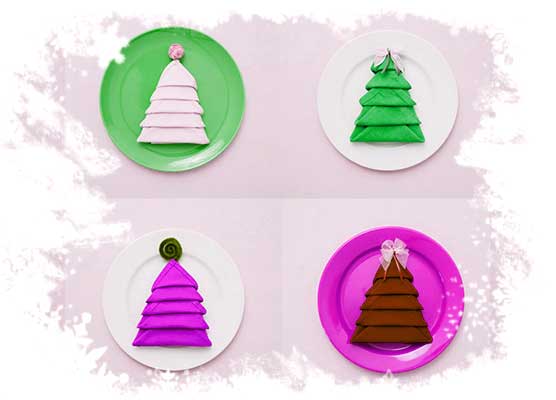
This Christmas tutorial is made for Christmas but also you can consider about autumn or spring holidays. Use your imagination and have fun!

Articles you might like:
- The Best Christmas Bucket List for Every Family
- Everything you need is generosity. Christmas Quote.
- How to Buy Perfume For A Real Man. Full Gifting Guide.
How to fold a Christmas Tree. Step by Step Guide.

Materials required to fold a Christmas Tree:
- Green color napkin (You can use any other)
- Scissors
- Cloth Flower
- Light green ribbons
- A Plate.
Making this Christmas tree decoration on your dining table top is as simple as shown in the video tutorial. (At the end of the article)
Let’s watch it carefully follow the steps. Hope this tabletop decor training will make your Christmas unforgettable and happy…
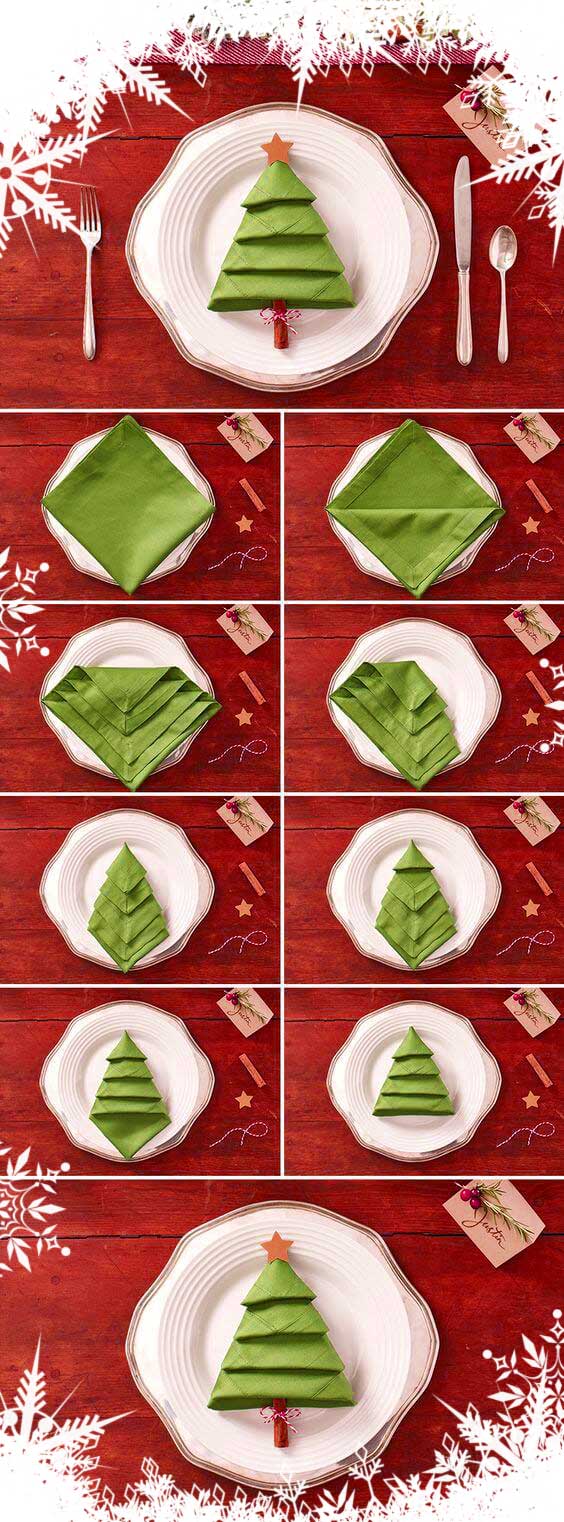
1. To prepare this super simple fold, you need a perfectly square fabric napkin. First, fold it twice to get a smaller square.
2. Then, fold up each layer to the top and be sure to leave one inch between each fold.
3. Flip the whole thing over, holding the folds.
4. It’s time to fold both sides together. Remember to align the top of each panel to form a triangular space at the top of the napkin.
5. Flip back the napkin (remember to hold it tight so it doesn’t unfold). Fold the upper layer to the top to form a peak of your Christmas tree. Hide lower layers’ tips underneath the upper folds.
6. To add a finishing touch to your Christmas Tree Napkin Fold, you can decorate it with Tiny Bow, we featured a few days ago. Simply pin it to the peak of the tree.
Still struggling to fold? Watch this video:
https://www.youtube.com/watch?v=QZWyue_QDyg&feature=youtu.be
If you like this Christmas tree folding tutorial please like and share it!
