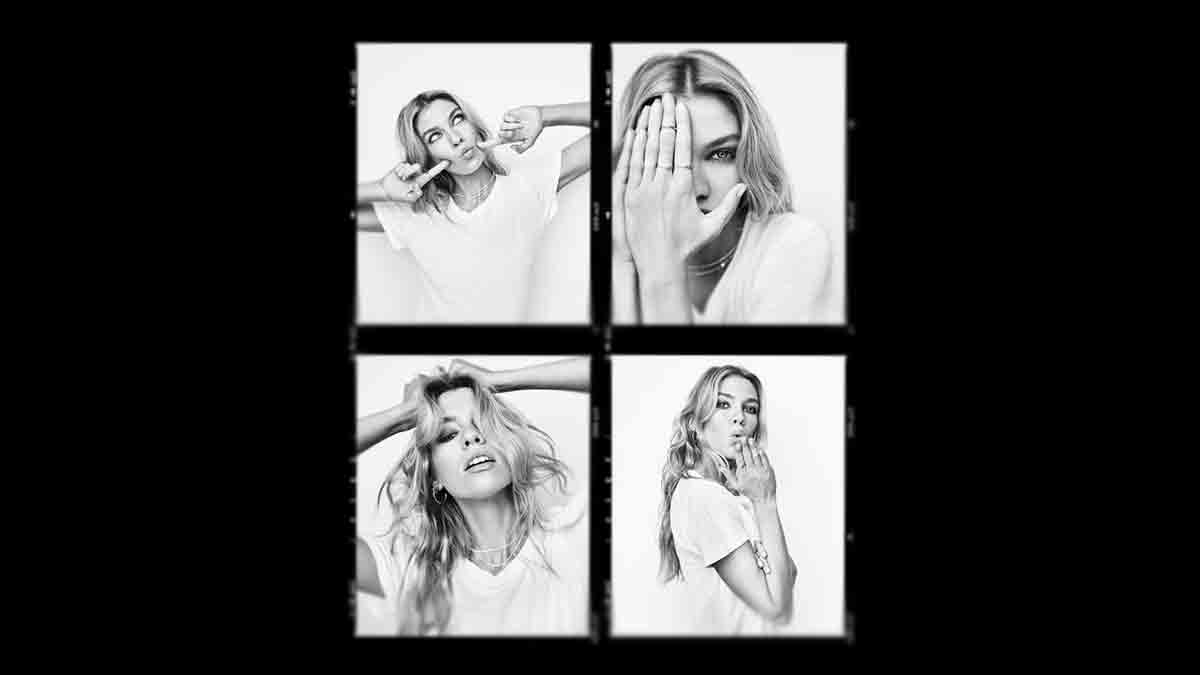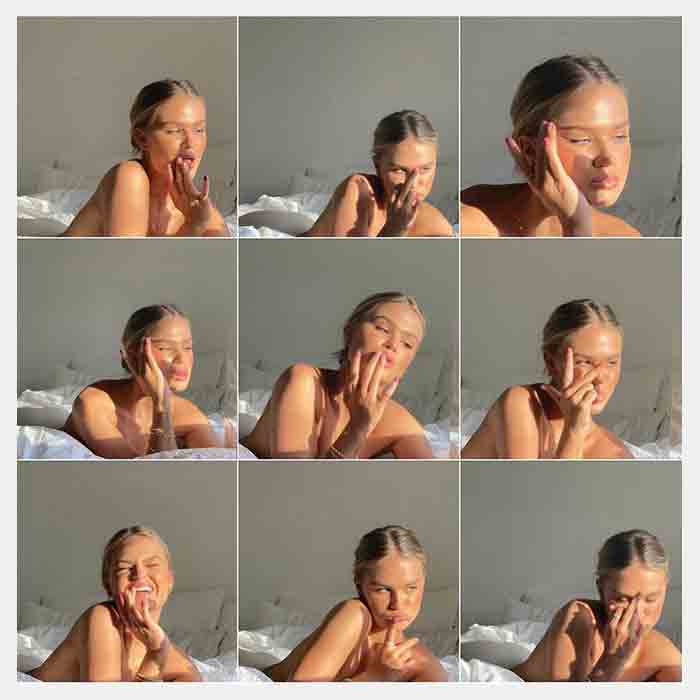
Nowadays many women take selfies every day.
Internet is flooded with selfies.
What about you?
Every holiday you make hundreds of phone caught moments.
But just some of them really look professional.
In many cases, to make an outstanding selfie you need to make an outstanding photo by itself.
Or you can use some superb editing tools like Photoshop to achieve the best result.
Or you can choose from hundreds of photo editing apps.
As you will take part in a photoshoot or doing your photo session, you will need ideas on how to pose. During the photo session, the photographer will always advise you how to pose, but this article is the core of selfie posing and editing if you’re on your own.

The Best Selfie Edit APP? Do You Need One?
The answer is — Yes.
You might have searched the internet asking questions like Best selfie editor? Best selfie app? Best selfie editing apps? Easy photo editor? Filters for selfies? How to make beauty selfies? (I took this info from google trends)
So, if you want a quick and good result — highly recommended this article about the best selfie editing apps:
The 20 Best Selfie Editing Apps for iPhone and Android in 2020
Unfortunately, not everybody is destined to have the eye-catching or patience to “play” with camera settings.
Simple Selfie Posing Ideas For Women, Groups, and Couple.
Before we jump into selfie editing, we must learn some posing hacks.
Good pose — first step into skipping editing action.
So here a some of the basic photography poses:
Women’s selfie posing ideas. How to pose before taking a selfie.
You should check this amazing article: Jealous of a Beautiful Selfies of Others? How to Take a Perfect Selfie?
Couples selfie posing ideas. How to pick the right dream-look pose.
Group selfie posing ideas. Gather your group and take the best selfies you could imagine:
Selfie Tutorial. Creating Luxury With Photoshop.
This tutorial will help you to edit your boring selfie into amazing art.
All you need some basic photoshop and listening skills. Also, at the end of the article will put some workflows with the same method. Plus, I will edit the current image.
So you can skip this step by step guide and go straight to the video.
Sure, there are many alternatives for adobe photoshop, but this article not about alternatives (Anyway, it will be mentioned at the bottom of the article)Follow my lead.
Ways to Edit Selfie. Not Every Country Has The Same Beauty Standards
Focus on eyes, lips, nose, chins.
But remember, all cultures have a different understanding of beauty.
For example. Most of the western countries people like to look at each other eyes and lips.
So you must focus on editing them. But focus parts can vary from the location you live.
There was a nice article on buzzfeed back in 2014 about different beauty standards. It is shown in this image:
That’s why there is not a global standard for photo editing, especially — selfie editing. But anyway, even in that image above, you can see, that main edited parts are eyes, lips, chins followed by hair, skin tone.
Adding some jewelry can be an option, but I wouldn’t recommend it, except you’re pro. (Even pros sometimes has a hard time doing it)
The Best Selfie Editing App Is Photoshop?
Yes. But… It’s not for everyone, it’s paid, it’s need time to learn…
so, the best selfie editing app/software — Adobe Photoshop.
So, forget simple apps, if you want to have a pro gallery in your social profiles or you want to print your beautiful photos.
If you want to have your Instagram or Facebook profile memorable and stunning — this selfie editing step by step tutorial will help you to achieve that.
For newbies. Needless to say, that Photoshop is very powerful and most popular photo editing program around the world. Actually, it’s the Number 1 photo editing software. No Doubts. Yes, it’s paid software. But as the first timer, you can try it for free. There is a trial version.
Let’s Begin Editing Your Cute Face. Preparing Selfie.
For this selfie tutorial, I will use a random shot from Unsplash. (It’s a free source of amazing photos) I chose this photo because this bar environment looks like real life, so it will be very nice for editing.
1. Open Your Selfie in Photoshop.
Your phone cameras making very big files way bigger than needed. So we need to reduce file size keeping the same quality. Sure, you can edit your selfie in full size, but anyway, it will be reduced while uploading to your social networks. Sometimes they reduce size too much, that pictures look really bad. To avoid that just make a square image, that will be suitable everywhere. Follow parameters like in image 2.
1.1. Create a New Document
- Document type – Custom
- With – 1080px
- Height – 1080px
Instagram square image size is 1080px on 1080px, so we are using this image size as selfie edit standard.
1.2. Create a New Guide Layout
Go to view › new guide layout. We create guide layout because we need to apply a very important thing in photography — rules of thirds. But You don’t need to think about it, when you are having fun and making random shots. Anyway, pro’s would recommend doing it.
1.3. Guide layout with 3 rows and 3 columns.
Create a new guide layout. It split rows and columns to equal parts automatically.
1.4. Duplicate your original selfie to our new made document with guide layout.
1.5. Adjust image, that it fits the rule of thirds.
Hold ”shift” key and using mouse adjust to the position you want.
1.6. Clear Guide Layout.
2. Begin to Edit Selfie.
Let’s begin to edit selfie. At first, duplicate the main picture using CTRL+J (PC) CMD+J (Mac). Lock the first layer in case you will make mash everything later on. Then create a new adjustment layer called Curves. See image below.
2.1. Locking and duplicating the main selfie.
Lock the main selfie using “Lock” icon. We are doing it, because by mistake we can mess everything later.
2.2. Applying adjustment layer − Curves
2.3. Applying screen blending mode
Choose blending mode as screen.
2.4. Making layer mask black.
Click on the curves mask and using “CTRL”+”BACKSPACE” change curves background from white to black.
2.5. Adjusting brush size and opacity.
Using “[” and “]” you can adjust brush size you want. Brush opacity around 10-30%. I would not recommend to use more than 40%.
2.7. Softly brush market spots.
So using brush tool highlight selfie areas I’ve mentioned in the beginning of the article. In this case, eyes are the most important part. Do not overdose this effect because after this selfie edit your image would look like a doll edit.
2.8 Black and White
Make a new black and white adjustment layer. Make it on multiply mode.
3. New shadow/highlights layer
Using CTRL+ALT+SHIFT+E make a new layer. Then go to Image›Adjustments›Shadows/Highlights. Play with the amount of shadows. Do not make more than 60%, selfie will look unnatural. Highlights leave as it is. Hit OK.
4. New layer. Dodge and burn.
Create a new layer using Using CTRL+ALT+SHIFT+E. Using the dodge tool brighten the same areas as you did in 2.7. step. Make exposure 10 to 30.
5. New layer. Unsharp Mask.
Create a new layer using Using CTRL+ALT+SHIFT+E. Go to Filter›Sharpen›Unsharp Mask.
- Amount › up to 50%
- Radius › up to 20 pixels
- threshold › 0
6. New layer. Levels.
Create a new layer using CTRL+ALT+SHIFT+E. New adjustment layer. Levels. Play a little with levels bars. Every photo is different, so you need to check which settings is best for you.
7. New layer. Gradient map.
Create a new layer using CTRL+ALT+SHIFT+E. New adjustment layer › gradient map. Choose black to white gradient. (You can experiment with other colors). Make blending mode as soft light.
You can try adding one more gradient map using the same actions. Just play with it.
Final Selfie Edit Result
Last Words
My last tip: Do not overdose effects, because the selfie will look terrible. Always remember to credit authors, because hard work should be appreciated.
If you like this selfie tutorial, share it! Welcome to the world of photoshop!
Also, you might like this amazing article: Following the Xmas Magic. How To Take Perfect Christmas Photos.
